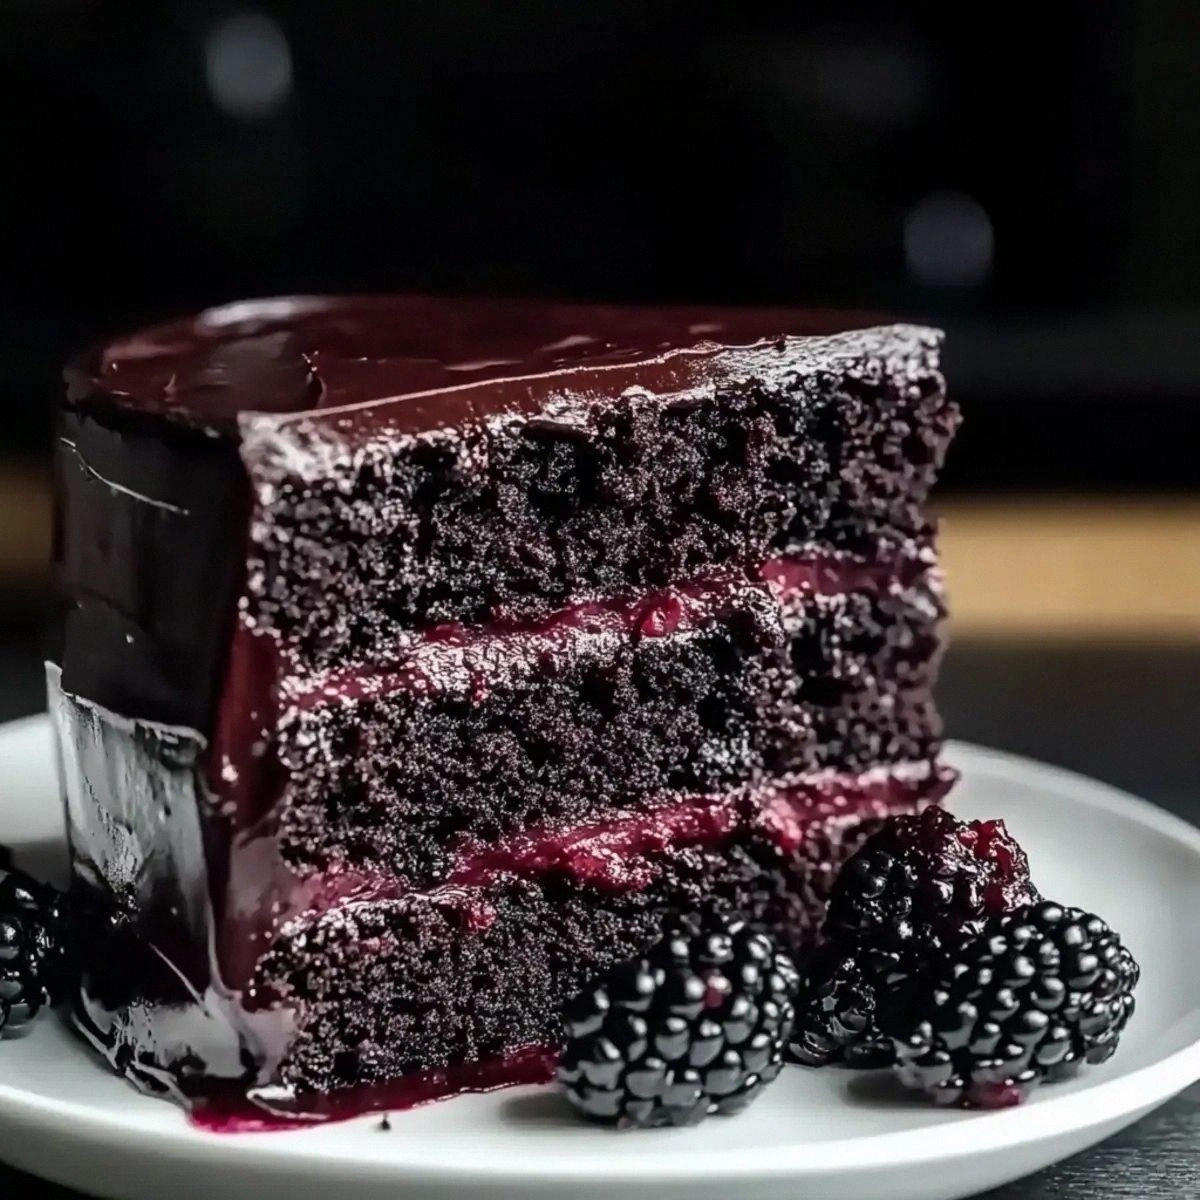
I was in the middle of a Saturday brunch scramble when I realized the only dessert I had in the pantry was a jar of frozen strawberries and a block of cream cheese that had been sitting in the fridge for weeks. I stared at the two ingredients, then at the empty countertop, and thought, “Why not turn this into something that looks like it was made by a pastry chef?” The kitchen was a blur of clinking bowls and the faint scent of melted butter, but the promise of a sweet, tangy treat kept my eyes on the stove. I dared myself to experiment, and the result was a cheesecake bar that feels like a slice of sunshine in every bite.
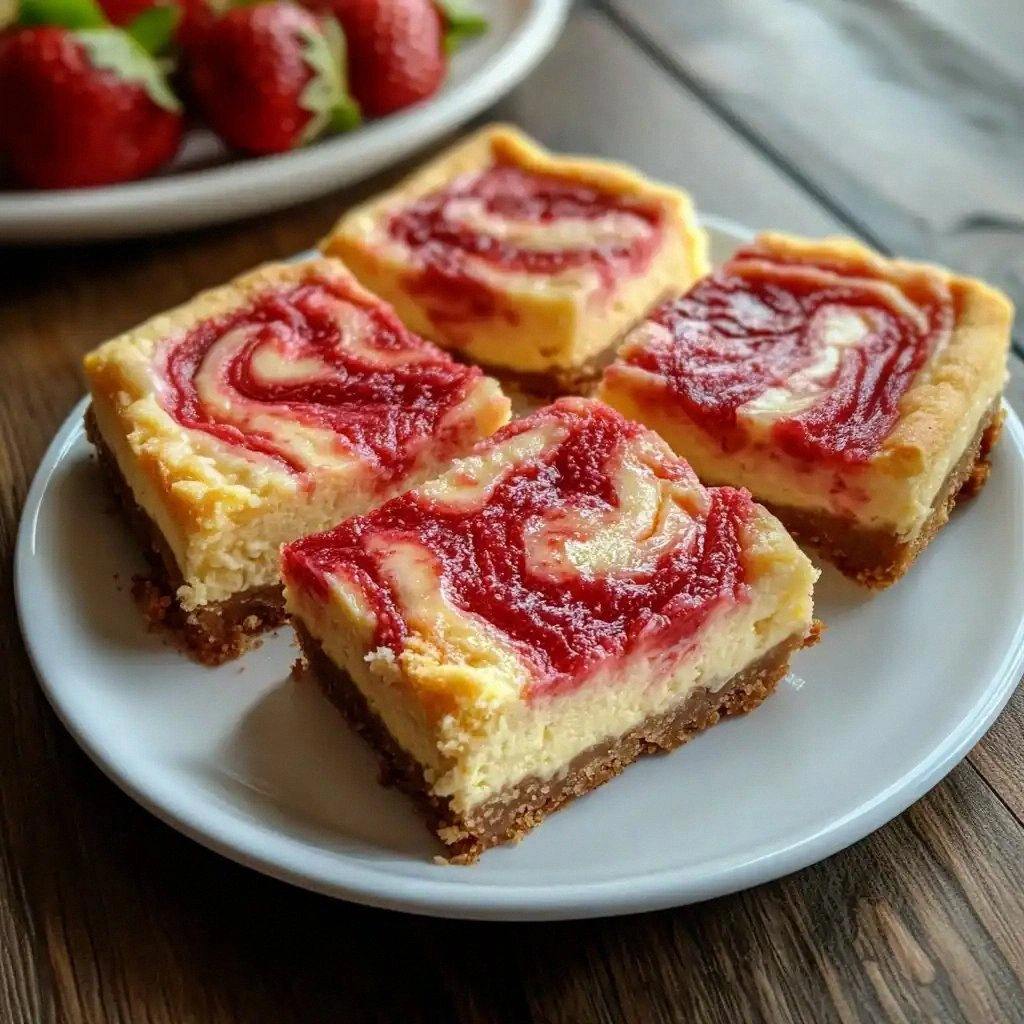
The first time I cut into the chilled cake, the crust crackled like a dry leaf, and the center was a glossy, citrus‑kissed custard that seemed to melt in your mouth. The strawberries, bright and juicy, burst with flavor, and the lemon zest added a bright, almost floral note that lifted the entire profile. I was struck by how the creamy filling didn’t feel heavy; it was airy, almost like a cloud you could eat. The contrast between the buttery base and the tart, sweet topping felt like a perfectly balanced conversation between two old friends.
What makes this version stand out is that it’s not just a cheesecake bar—it’s a textural adventure. The base is a crunchy, buttery graham cracker crust that gives way to a silky filling, while the strawberry topping provides a fresh, juicy finish. The recipe uses a simple cornstarch‑water slurry to set the fruit, which keeps the topping glossy and prevents it from becoming watery. The lemon juice is balanced by a touch of vanilla, giving depth without overpowering the strawberry’s natural sweetness.
I’m not going to lie—this is hands down the best version of strawberry‑lemon cheesecake bars you’ll ever make at home. The trick is in the detail: the crumbly crust, the smooth custard, and the vibrant, glossy topping. I dare you to taste this and not go back for seconds. Let me walk you through every single step—by the end, you’ll wonder how you ever made it any other way.
What Makes This Version Stand Out
- Texture: The crust is buttery, crunchy, and has a subtle graham cracker crunch that contrasts beautifully with the silky filling. The strawberry topping is glossy and juicy, adding a fresh, crisp finish.
- Flavor Balance: The lemon’s bright acidity is tempered by a hint of vanilla, creating a layered taste that isn’t cloying. The strawberries add natural sweetness that complements the tartness.
- Simplicity: With only fifteen minutes of prep and a single baking step, you can create a showstopper dessert that feels gourmet.
- Make‑ahead: The bars can be assembled a day in advance, set in the fridge, and baked on the day of the event, saving you last‑minute stress.
- Visual Appeal: The bars look like mini works of art, with a golden crust, a pale creamy center, and a vibrant strawberry glaze that invites you to dig in.
- Kid‑Friendly: Even the youngest can help by stirring or sprinkling the crumbs, making it a family‑friendly project.
- Versatility: Swap out strawberries for blueberries or raspberries, or add a drizzle of chocolate for a decadent twist.
- Nutrition: Despite its indulgent appearance, each bar contains a good balance of protein, healthy fats, and natural sugars.
Alright, let's break down exactly what goes into this masterpiece…
Inside the Ingredient List
The Flavor Base
The 1 ½ cups of graham cracker crumbs form the backbone of the crust. They bring a buttery sweetness that pairs perfectly with the tangy filling. If you skip them, the bars will feel flat and lack that satisfying crunch. A good alternative is to use crushed digestive biscuits for a slightly sweeter, more aromatic base. When selecting graham crackers, choose the original or honey‑flavored varieties for a richer taste.
The Texture Crew
The 6 tablespoons of unsalted butter melt into the crumbs, binding them together and creating a crumbly, melt‑in‑your‑mouth texture. The 16 ounces of cream cheese are the heart of the filling; they provide a smooth, velvety consistency that doesn’t feel heavy. The ¾ cup of granulated sugar and the 2 large eggs act as sweeteners and binders, ensuring the filling sets without cracking. If you prefer a lighter filling, you can replace half the cream cheese with Greek yogurt, but the texture will change slightly.
The Unexpected Star
The 1 cup of fresh or frozen strawberries is the star that turns ordinary cheesecake into a fruit‑laden delight. They add a burst of natural sweetness and a pop of color. The 2 tablespoons of granulated sugar and 1 teaspoon of cornstarch in the topping prevent the fruit from becoming watery and give it a glossy finish. If you’re using frozen strawberries, thaw them first and pat them dry to avoid excess liquid.
The Final Flourish
The 2 tablespoons of lemon juice and 1 tablespoon of lemon zest are the finishing touches that add bright acidity and aroma. The ¼ cup of sour cream softens the filling, making it silky and slightly tangy. The 1 teaspoon of vanilla extract deepens the overall flavor profile. If you’re allergic to dairy, you can replace the sour cream with coconut cream for a tropical twist.
Everything's prepped? Good. Let's get into the real action…
The Method — Step by Step
- Prepare the crust. In a medium bowl, combine the graham cracker crumbs with the melted butter. Press the mixture firmly into the bottom of a 9×13 inch baking pan lined with parchment paper. The crust should feel solid and hold together when pressed. Chill in the fridge for 10 minutes to set the butter.
- Blend the filling. In a high‑speed blender, combine the cream cheese, ¾ cup sugar, eggs, sour cream, lemon juice, lemon zest, and vanilla. Blend until completely smooth and free of lumps. The batter should be thick yet pourable. If it’s too thick, add a tablespoon of milk or water to reach the right consistency.
- Pour over the crust. Remove the pan from the fridge and pour the cheesecake batter over the crust. Spread it evenly with a spatula. The top should be level and slightly glossy. This step is crucial; a smooth surface ensures even baking.
- Bake the base. Preheat the oven to 325°F (165°C). Bake the bars for 25 minutes, or until the edges are set but the center still has a slight wobble. The bars should smell like warm vanilla and butter. Keep a close eye on the top; you want it golden but not browned.
- Cool the cheesecake. Remove from the oven and let it cool in the pan on a wire rack for 20 minutes. Then chill in the fridge for at least 2 hours, or until fully set. The cooler the bars, the easier they will slice.
- Prepare the strawberry topping. In a saucepan, combine the strawberries, 2 tablespoons of sugar, cornstarch, and water. Cook over medium heat, stirring constantly until the mixture thickens and becomes glossy. This should take about 5 minutes. The topping should be thick enough to coat the back of a spoon.
- Finish the bars. Once the bars are chilled, spread the strawberry topping evenly over the top. Let it set at room temperature for 10 minutes before slicing. The topping will look like a glossy, edible glaze.
- Serve and enjoy. Cut the bars into squares or rectangles, and serve chilled. The bars are best eaten within 3 days for optimal freshness. If you want to keep them longer, store them in an airtight container in the fridge.
That's it — you did it. But hold on, I've got a few more tricks that'll take this to another level…
Insider Tricks for Flawless Results
The Temperature Rule Nobody Follows
Many bakers bake cheesecake at 350°F, but that can cause the top to brown too quickly while the center remains undercooked. By baking at 325°F, you give the bars a gentle heat that allows the custard to set evenly. I’ve seen bars that look perfect on the surface but have a raw center; this trick eliminates that risk.
Why Your Nose Knows Best
Before you cut into the bars, pause and inhale the aroma. A faint, buttery scent signals a well‑baked crust, while a sharp lemony smell indicates the filling is ready. Trust your nose—if the smell is off, let them bake a few more minutes.
The 5-Minute Rest That Changes Everything
After removing the bars from the oven, let them sit at room temperature for exactly five minutes. This short rest allows the heat to distribute evenly, preventing a sudden temperature drop that can cause the bars to crack. It’s a small detail that makes a big difference.
Stirring the Topping Thoroughly
When thickening the strawberry glaze, stir constantly to avoid lumps. A smooth topping gives the bars a professional finish. I’ve seen people skip this step and end up with a grainy glaze that detracts from the overall experience.
The Perfect Pan
Use a 9×13 inch non‑stick pan lined with parchment paper. The parchment prevents sticking, while the non‑stick surface ensures easy release. If you don’t have parchment, lightly spray the pan with non‑stick spray and press the crust firmly into the edges.
The Finish Line
When slicing the bars, use a hot, dry knife. Wipe the blade between cuts to keep the edges clean. A sharp knife prevents the bars from crushing and ensures neat, professional squares.
Creative Twists and Variations
This recipe is a playground. Here are some of my favorite ways to switch things up:
Blueberry Bliss
Swap the strawberries for fresh blueberries. The blueberries add a subtle tartness that pairs beautifully with the lemon. The glaze will turn a deep blue hue, making the bars visually striking.
Raspberry Red Velvet
Use raspberries and a dash of red food coloring to create a red‑velvet‑inspired cheesecake. The raspberries give a deeper berry flavor, while the color adds drama.
Chocolate Drizzle Delight
Drizzle melted dark chocolate over the strawberry topping once it sets. The chocolate adds a bittersweet contrast that balances the citrusy sweetness of the strawberries.
Minty Fresh
Add a teaspoon of fresh mint extract to the filling. The mint provides a cooling undertone that pairs nicely with the lemon and strawberries.
Almond Crunch
Incorporate a handful of chopped toasted almonds into the crust. The almonds add a nutty crunch that enhances the texture profile.
Coconut Cream Variation
Replace the cream cheese with coconut cream to create a dairy‑free version. The coconut adds a tropical note that complements the strawberries.
Storing and Bringing It Back to Life
Fridge Storage
Store the bars in an airtight container in the refrigerator for up to 3 days. The bars stay moist and flavorful as the cream cheese continues to set slightly over time. Keep the container away from strong‑smelling foods.
Freezer Friendly
Wrap each bar individually in plastic wrap and place them in a freezer bag. Freeze for up to 2 months. When ready to serve, thaw overnight in the fridge. The texture remains creamy, though the strawberries may soften slightly.
Best Reheating Method
If you prefer a warm dessert, place the bars on a baking sheet and warm them in a 300°F oven for 5 minutes. Add a tiny splash of water before reheating to steam back to perfection, preventing the filling from drying out.